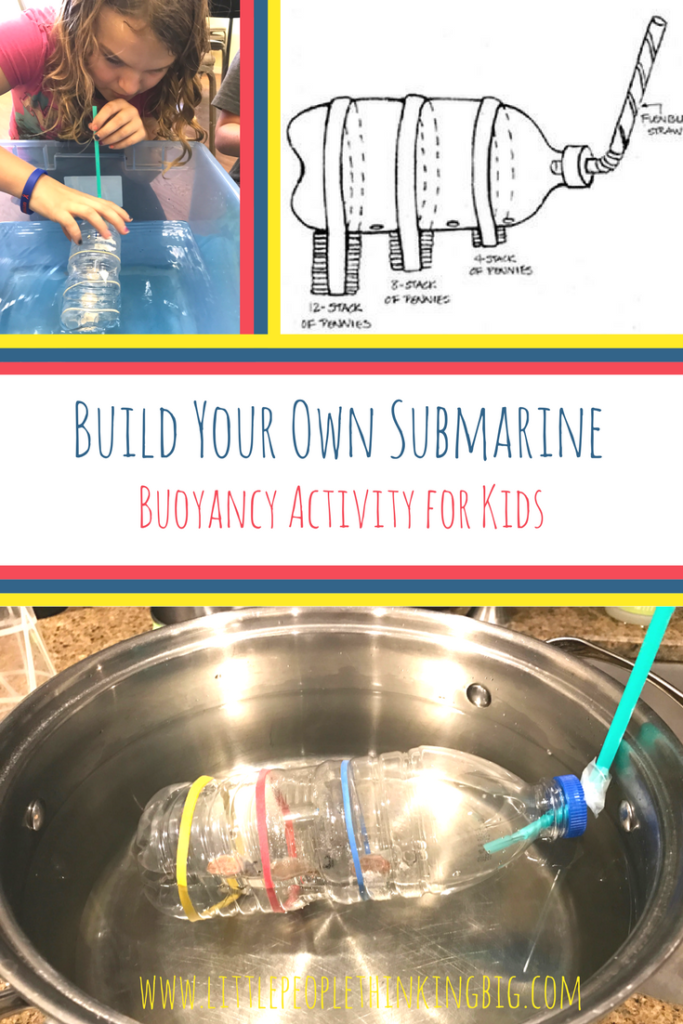
Submarines sink down into the ocean by taking on water, and float by taking on air.
The tricky part to this activity is cutting the holes into the bottles and cap. We used a drill and 1/8″ drill bit.
Materials:
- plastic (disposable) water bottle
- flexible straw
- 24 pennies
- 3 large rubber bands
- masking tape
- drill or some tool to make holes in water bottle and cap.
- large bin full of water (or pool, or bathtub, etc.)
Procedure (to make submarine):
- Cut three pencil-size holes in the side of the water bottle, equally spaced apart.
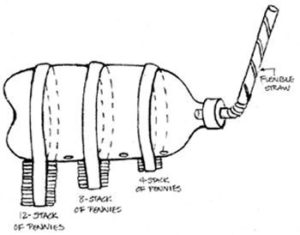
- Tape stacks of pennies together. There will be three stacks of 12, 8, and 4 pennies.
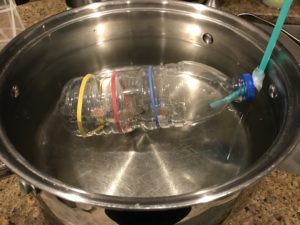
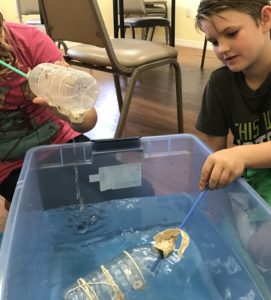
- Use large rubber bands to attach to the bottle, one at the bottom end of the bottle and then in between the holes. (See diagram above)
- Drill 1/8″ hole in cap of bottle. Fir shorter end of flexible straw into cap. It should be snug. If not, tape with masking tape (or you could fill gaps with clay).
Procedure (to use submarine):
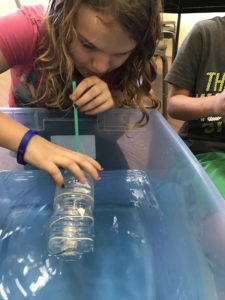
- Place submarine, holes down, into large bin of water. The weights (pennies) will pull the bottom down first and cause it to fill with water. The submarine will sink. Only allow it to sink low enough that the straw does not go completely under water.
- When student is ready to raise the submarine back to the surface, have her blow into the straw. The submarine should fill with air, pushing the water out of the holes. This will cause the submarine to rise, or float, to the surface.

Go Further:
- Learn more about submarines, of course! Check out this website, Submarine Safaris, where you a can can take a tour on a real submarine. They have some cool kids activities also!
- History! Submarines are used by the Navy during times of war. The first submarine used in war was in the Revolutionary War, in 1776. Check out this informational page from the History Channel, World’s first submarine attack.